You’ve got great seats for your favorite band. The lights dim, the band starts and sounds great, and the lead singer takes center stage. The singer leans into the microphone belting out the lyrics, and what you hear is muddy, muffled, and just plain awful. This doesn’t sound anything like their recordings. What is going on?
There are multiple reasons why the vocals might sound bad and many of them have nothing to do with the singer. It could be a bad mic or the wrong mic. It could be the sound engineer doing the mixing is having a bad day. It could be that you’re sitting in a dead spot in the arena. Of course, the singer could be the source of the problem, but if you follow the tips in this article, you can avoid being part of the problem.
Why good mic technique makes a difference
The purpose of a vocal microphone is to faithfully reproduce the sound of a voice so it can be amplified and projected at levels that complement the rest of the instruments. There are singers with naturally big enough voices such as Lady Gaga, Beyonce, Ariana Grande, and Justin Bieber, that they could be unmiked and still sound great alongside the band. If you’re not one of them, then using a mic properly will ensure you sound good, help you save your voice, and offer the opportunity to enhance your voice with reverb, delay, autotune or other effects.
Improper mic technique can ruin a great vocal performance. We’ve all heard singers who insist on shifting the mic from hand to hand, tapping on it with their fingers, or positioning it too far or too close to their mouth. The result can be anything from distracting to painful. If you don’t want to be the problem, consider the following tips carefully and be sure to practice.
10 Microphone Singing Tips & Tricks
School of Rock teachers have taught thousands of vocalists to become great singers. Whether you’re just starting out, looking to expand your range or repertoire, or changing genres, our professional vocal instructors can bring out your hidden talents, and using a mic correctly will ensure you’re heard. Our teachers have suggested these tips to get you started.

Know how to hold a microphone
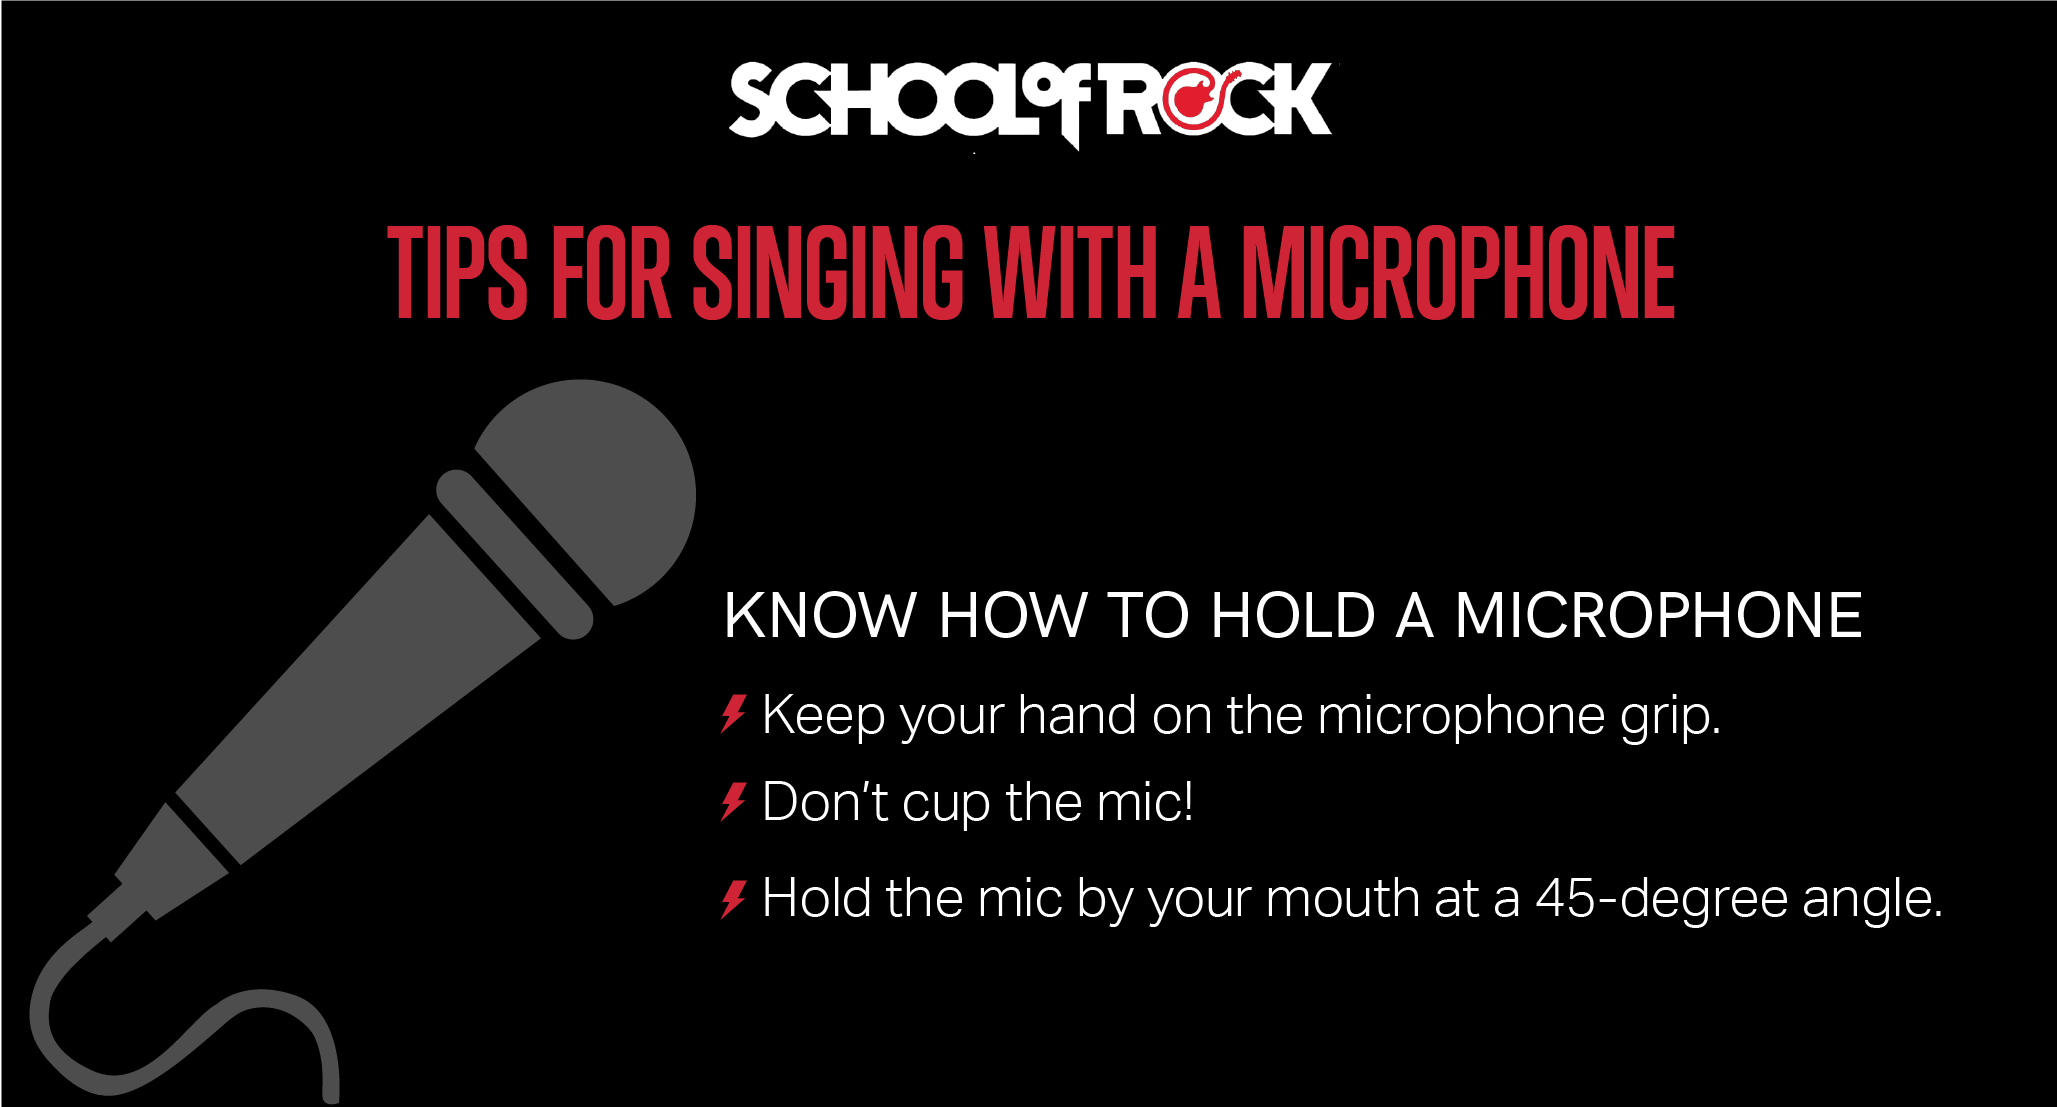
1. Keep your hand on the microphone grip.
If you’re a popular vocalist who makes a million dollars a year, you can afford to do a “mic drop” or two. If not, you should always keep a firm hold on your expensive and fragile microphone. Find a comfortable grip and stick with it. Learn to do it with either hand -- switch between numbers -- so your hand doesn’t tire. The key is to not shift your fingers or hand around while you’re singing so you don’t inadvertently make noise, cause unwanted increases or decreases in volume, or accidentally hit the off switch. Besides finding a mic that suits your voice, be sure that it suits your hand -- neither too thick or thin -- so that you can hold it comfortably over the course of a 3+ minute song.
2. Don’t cup the mic!
It’s common to see pop singers cupping the mic with both hands. They do this to reduce external noise and to increase the mid-range and bass tone of the voice. The problem is that it only has a minimal effect of reducing other noises and it totally messes with the tone and volume. It’s also likely to make your sound engineer’s blood boil, and no one wants to have that happen during a gig.
If you’re trying to produce a certain sound, you’ve rehearsed it, and your sound engineer and the band know what to expect, then anything goes, but if you’re looking for a clean reproduction of your voice, stick to a simple grip.
3. Hold the mic by your mouth at a 45-degree angle, slightly off center.
Shure, a leading manufacturer of microphones used by professionals for the past 70 years, and a School of Rock partner, says: “Today, 98 percent of pop singers DO NOT use the mic correctly. The proper position is off to one side of the mouth, but pointing at the center of the mouth. Look at any video recording with Frank Sinatra or Ella Fitzgerald. These great singers knew how to use a microphone correctly.”
Holding the mic directly in front of your mouth increases the chances of picking up annoying popping P or T or breath sounds. Holding the mic at the correct angle, at the correct distance, and slightly off to the side limits extraneous sounds and lets the mic pick up the true sound of your voice.

Understand how mic distance affects vocal sound
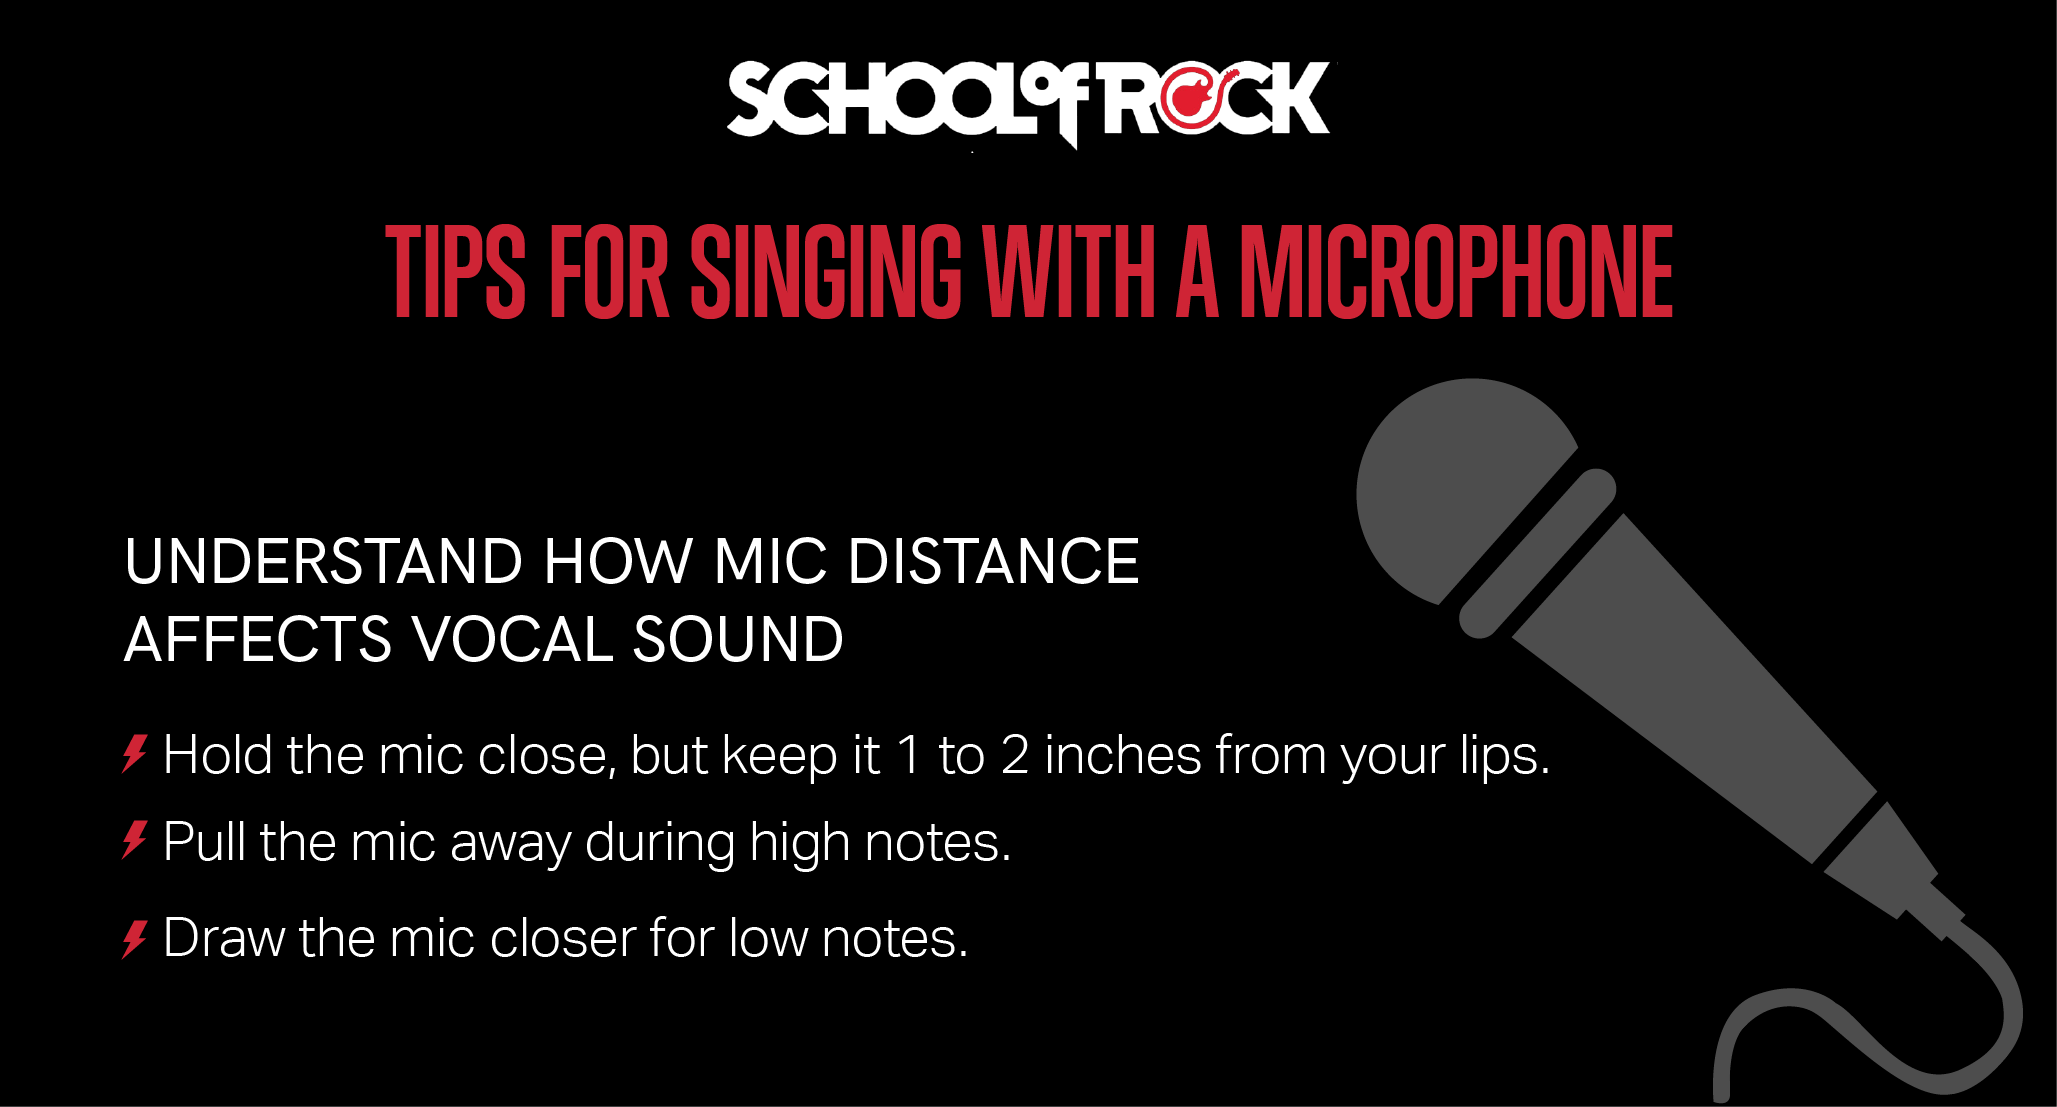
4. Hold the mic close, but keep it 1 to 2 inches from your lips.
If your objective is realistic reproduction of your voice, then the secret is maintaining the mic in the same position relative to your mouth. The optimal position is as stated in tip #3 and about 1 to 2 inches from your lips. If you keep moving the mic around, the timbre (the character or quality) and the volume or intensity of the sound will change. Maintaining the correct grip, angle, position, and distance gives you a consistently authentic sound.
There are exceptions to this tip and we’ll discuss them in the next two tips. And, as previously stated, if your objective is some type of specific sound, then all bets are off.
5. Pull the mic away during high notes.
If the sound mix is correct, you should be able to be heard clearly along with the band without straining your voice. You shouldn’t feel like you have to sing louder to be heard. There are times when your voice may become louder because you’ve moved into a higher register or you’re belting out a lyric, and this may require slight positioning adjustments in order to not overwhelm the mic.
When you know your volume is going to increase, you can move the mic further away from your mouth in order to compensate, while still maintaining the proper position. This reduces the potential for creating a distorted sound. It will take practice to learn how much you should adjust the mic position.
6. Draw the mic closer for low notes.
Just as it’s important to move the mic away from your mouth to adjust for increased volume, it might also be helpful to move the mic closer to your mouth when you know you’re going to sing in a lower register.
Some vocalists can make these adjustments simply by varying their own volume, so there is no need to move the mic. Consulting a professional teacher can help you find the right technique and prevent you from damaging your voice.

Know how to sing onstage
7. Use a sound check to make sure the levels are right.
Singing in the controlled environment of a studio or at a small venue is very different from singing onstage in a larger venue. A comprehensive sound check gives you (and the person in charge of sound) the chance to make sure the levels are perfect. Make sure you are heard in the monitors and that the mic is in a good position for you so that you are not playing with the mic stand once it's show time. Do not ever be afraid to speak up during a sound check if something doesn’t feel right.
Importantly, don’t do a sound check without properly warming up your voice. You need to be full-throated to approximate your live performance so that the levels can be balanced. Our teachers suggest these vocal warm-ups to prepare your voice for the performance.
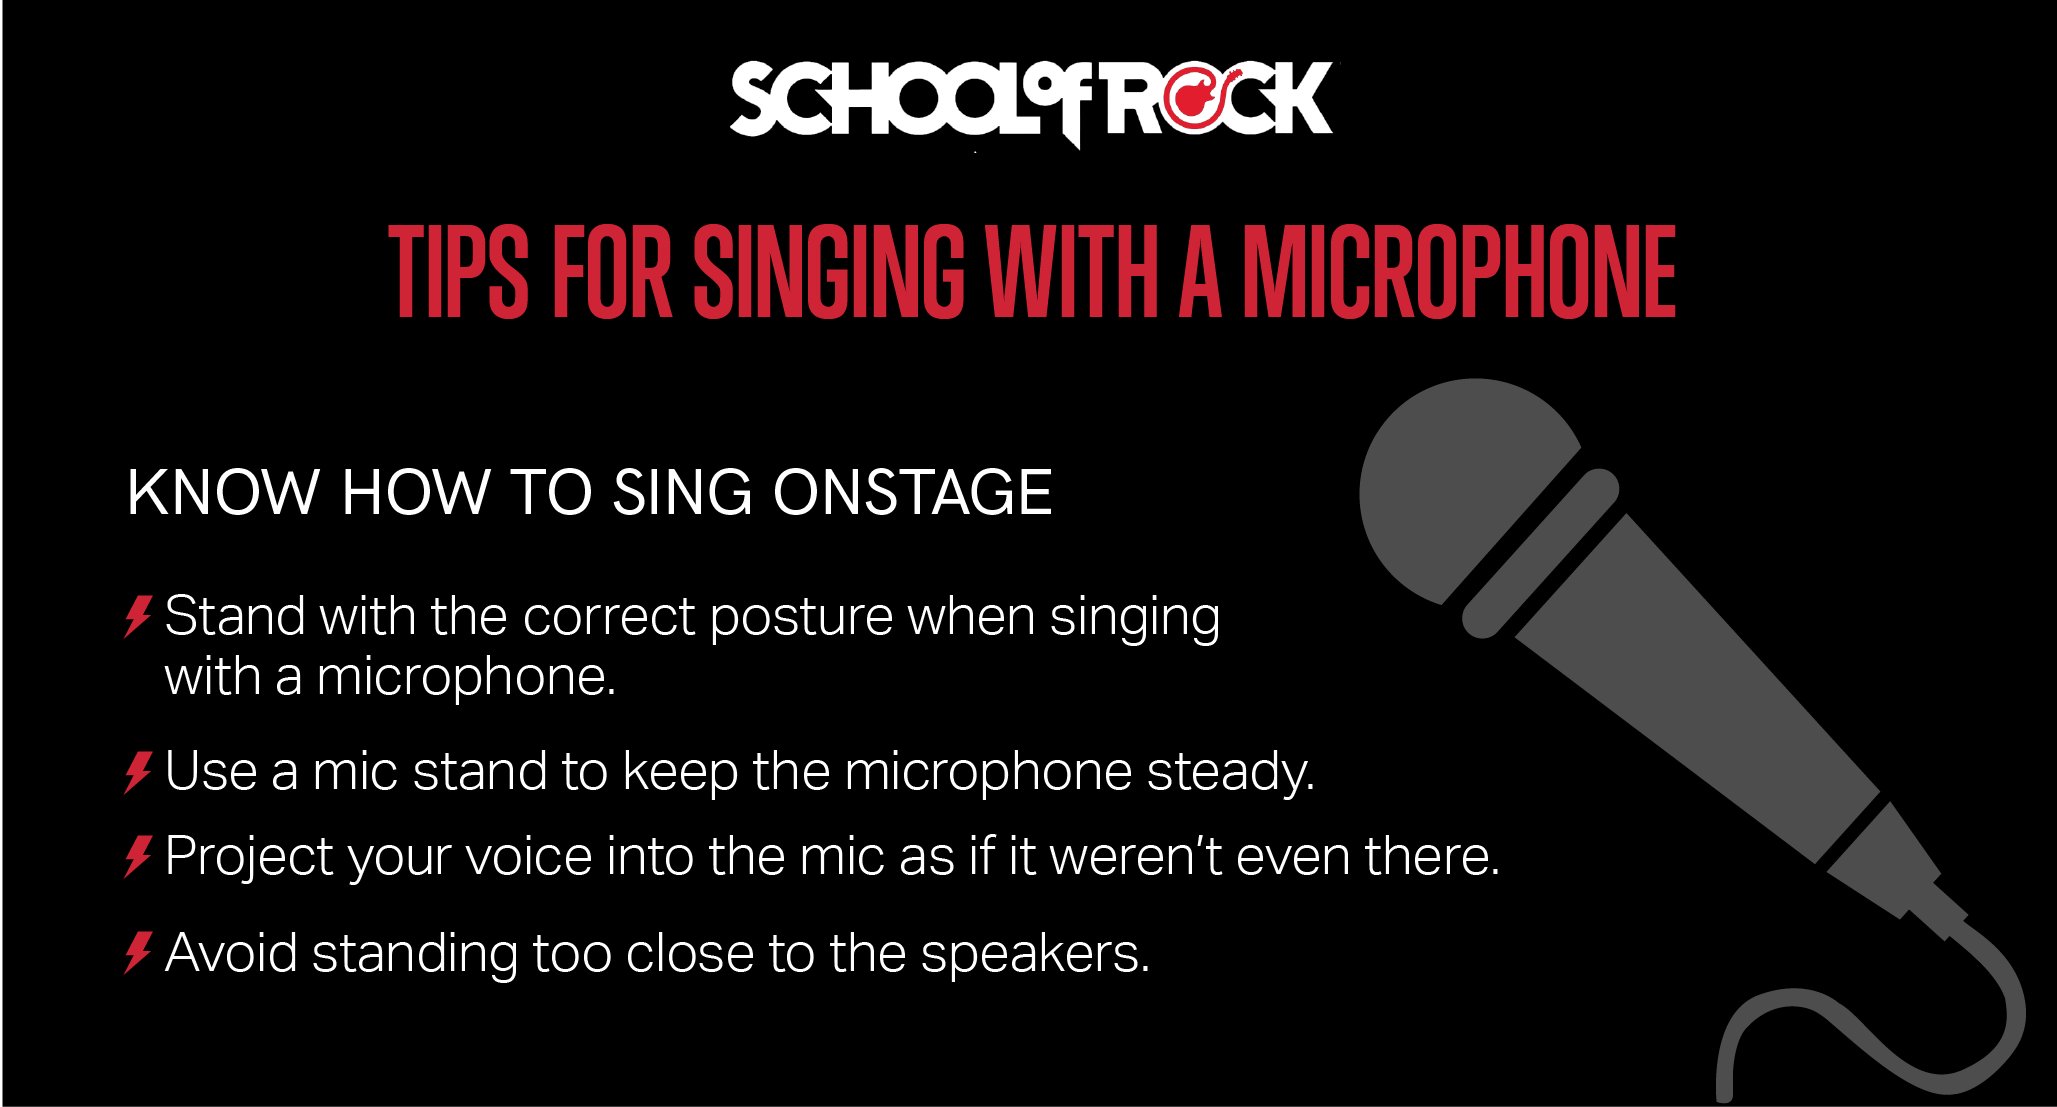
8. Use a mic stand to keep the microphone steady.
Standing still on a stage and singing into a mic in a stand can be pretty boring to look at unless you’re a backup singer, or playing an instrument. It’s best to bring some life to your vocal performance by being physically active and connecting with different parts of your audience. If you’re singing a dramatic ballad where movement could be distracting, or you’re playing your instrument and need your hands free, a mic stand is a must.
Be sure it’s set to the right height and positioned so that it doesn’t interfere with any of your movements. If you plan on using a stand for one number and not for the next, be sure to have a “stagehand” to move it out of your way. Setup and treat the stand as if it is your hand holding the mic by maintaining good posture, proper distance and angle. And once again, practice using the stand to look professional. It’s easy to bump the stand, pull out or trip on the mic cord, or worst case, knock the stand over if you’re not completely comfortable with it.
9. Project your voice into the mic as if the mic wasn’t there.
It’s worth repeating that the point of a mic is to allow you to sing in a normal voice and not strain to be heard. If you take lessons or practice without a mic, don’t suddenly change your technique because you’re using one now. Just sing naturally and let the mic do the work.
Your voice is your instrument and you need to care for it just as any musician cares for an instrument. A better analogy might be to care for your voice as athletes care for their bodies. Follow the advice of a professional teacher to help you understand the limits of your voice, how to avoid strain, and how to improve your breathing and stamina. School of Rock teachers have developed a list of tips to keep your singing voice healthy.
10. Avoid standing too close to the speakers.
We’ve left the most obvious tip to last… avoid feedback! Feedback, that ear-splitting, startling, annoying noise that occurs when a mic and a speaker get too close together. The sound is projected out the speaker and back into the mic in an endless intensifying loop. You can see a visual representation of this if you hold a mirror up to a mirror so you can see an infinite number of reflections.
If you’re in a small venue, you can avoid the issue by not wandering around. If you’re in a larger venue, and you don’t plan on standing in one place, use the sound check to roam the stage and see where the safe areas are. Then, during the performance stay within those boundaries. When you are startled by feedback, and it will happen, it can be dampened by putting your hand or body between the mic and the speaker until you can move back to a safe area.
FREQUENTLY ASKED QUESTIONS ABOUT HOW TO SING WITH A MICROPHONE
WHAT IS THE BEST MIC FOR SINGING?
The simplest answer is the mic that makes you sound your best. A more detailed answer is beyond the scope of this article because there are many different brands and types of mics but here are a couple of pointers. A good starting place might be to see what kind of mic your favorite singers use, assuming that you have a similar style. A mic your favorite metal vocalist uses might not be the right one for you if you sing a lot softer ballads.
One mic, the Shure SM58 is the most widely used microphone for live vocals. It is able to take a beating and it’s good at removing unwanted noise and ambience. The SM58 is inexpensive, has been used by many leading artists on stages all over the world, and produces accurate and clear vocals.
WHAT IS “EATING” OR “KISSING” THE MIC?
Eating or kissing the mic is where you press your lips directly against the mic. While seen often in rock concerts, you should avoid it unless you are looking for a specific effect. Being too close to the mic can increase the volume and result in a distorted sound. Singing with your lips directly on the mic may interfere with your pronunciation and make you sound muddy.
DOES A MICROPHONE CHANGE YOUR VOICE?
In a perfect world, a microphone and the attached cables, amplifiers, and speakers wouldn’t change your voice at all. A listener wouldn’t be able to tell the difference between the live acoustic performance or the amplified performance aside from the difference in volume.
The reality is that an amplified sound will always be slightly different. For example, even the widely used Shure SM58 slightly enhances the higher end of the vocal spectrum resulting in a crisper sound. The amount of difference between your actual voice and the amplified voice can be minimized or maximized depending first on the mic you choose, and then on all the other choices made in the amplification system including any special effects used such as reverb or autotune. Even the arena or hall can impact how you sound once the sound leaves the speaker.
CAN I LEARN TO SING WITHOUT EVER NEEDING A MIC?
Yes, you can train your voice to minimize or eliminate in some cases the need to use a mic. Listen to opera or Broadway singers. These genres rarely used microphones in the past and many performers developed larger than life voices to fill the hall and project over the orchestra. However, rock singers don’t often get to sing in halls with perfect acoustics, and they are competing with amplified instruments (played by musicians who like to be loud) that may lack the nuances of a live orchestra. So, consider the mic to be a companion to your instrument. Try not to be dependent on it but don’t fear or avoid it. Use it to protect, enhance, and amplify your voice.
School of Rock singing teachers are all working musicians and trained educators who can help you develop and grow confident about your voice. School of Rock offers individual lessons in addition to the opportunity to sing with a band onstage in our performance programs.
About the author
Larry Perlstein is one of the owners of School of Rock West Hartford in Connecticut. Learn more about how to open your own School of Rock location in your neighborhood at https://franchising.schoolofrock.com.


